Installation#
Step 1: Install QGIS#
Before installing the Quail plugin, you need to install QGIS. Download the latest version of QGIS from qgis.org. For Windows useres we strongly recommend using the Online (OSGeo4W) installer.
Warning
Must use QGIS version 4.0 or higher
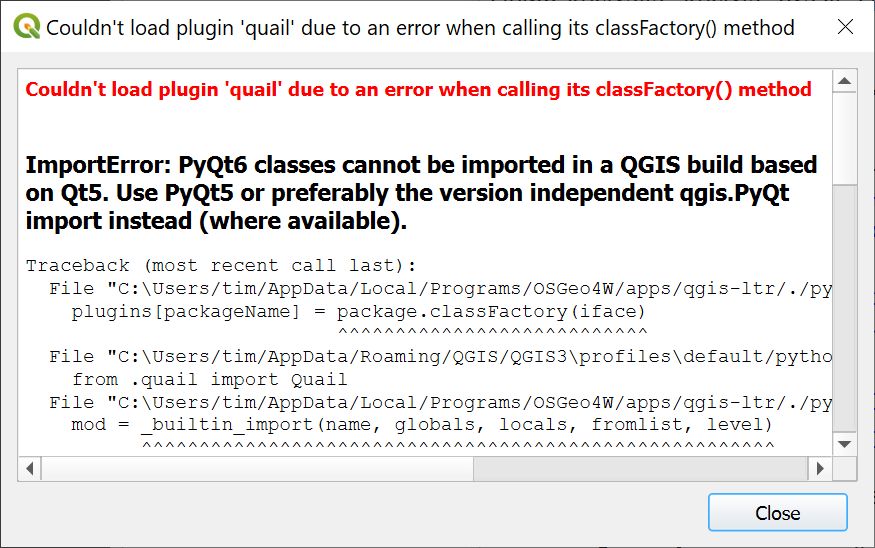
Quail has already migrated to the future long-term release (LTR) version 4+, scheduled to be released in October 2026. We recommend that you update your QGIs version, as loading Quail in QGIS versions older than 4.0 will return the following error:
Step 1: Install Quail Through Plugin Repository#
Note
the images here are shown for a Mac, but this installation is the same process irrespective of your operating system.
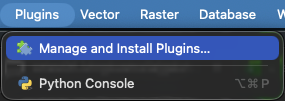
In QGIS, navigate to the Plugins menu, and click on “Manage and Install Plugins”.
Go to the “All” tab:
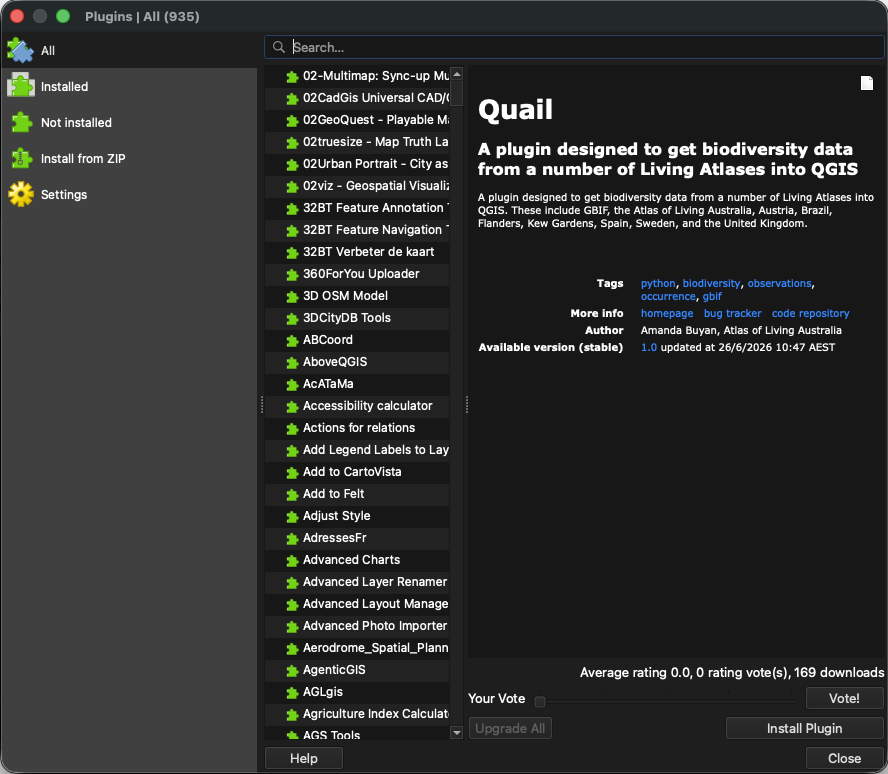
Search for “Quail”:
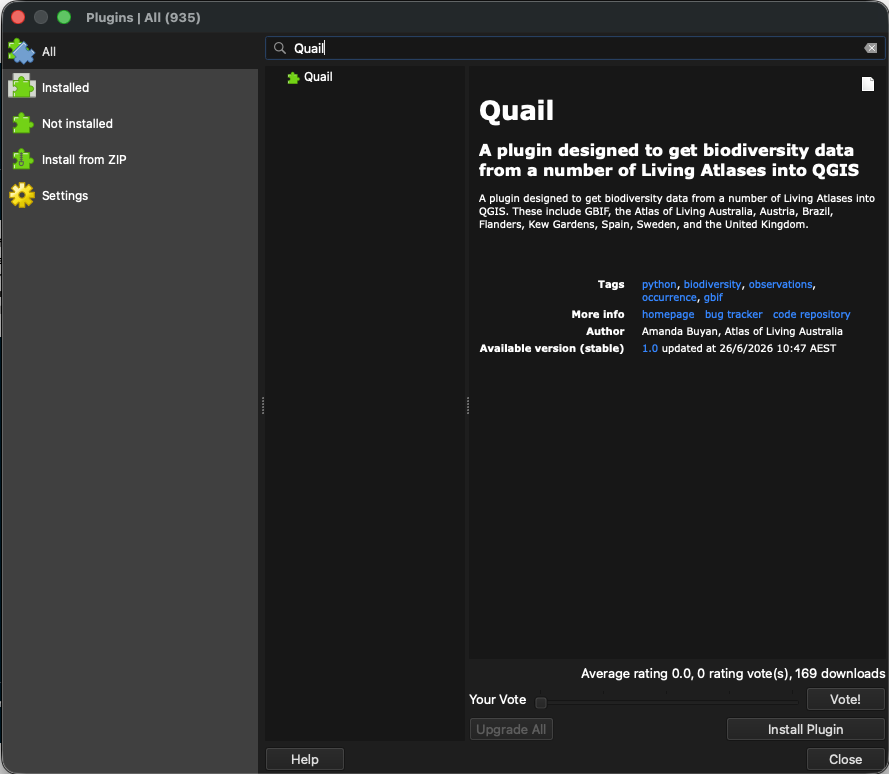
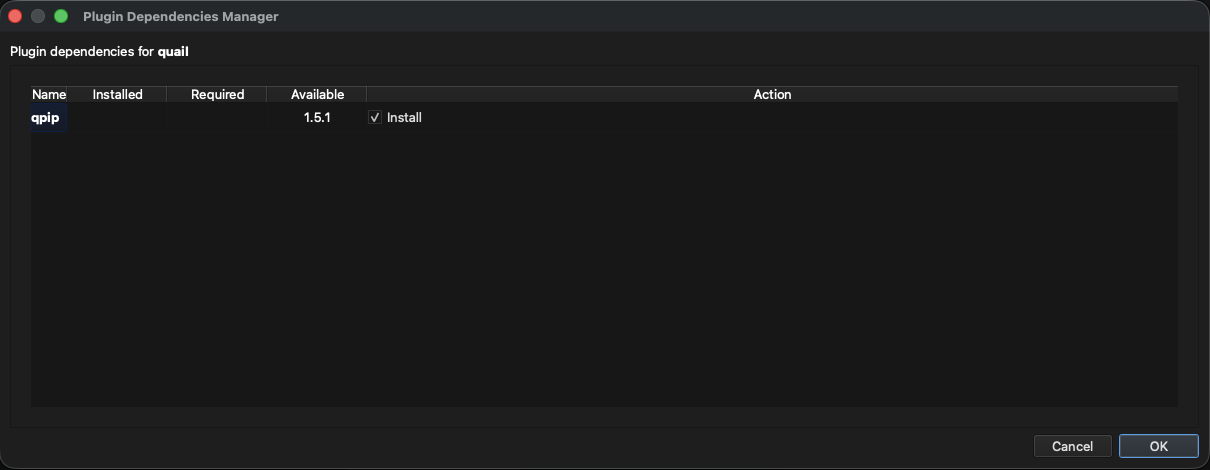
Click “Install Plugin” in the lower right-hand corner. You will see a popup window called “Plugin Dependency Manager” that will direct you to install a plugin called QPIP. Install this to make managing Quail easier in the future.
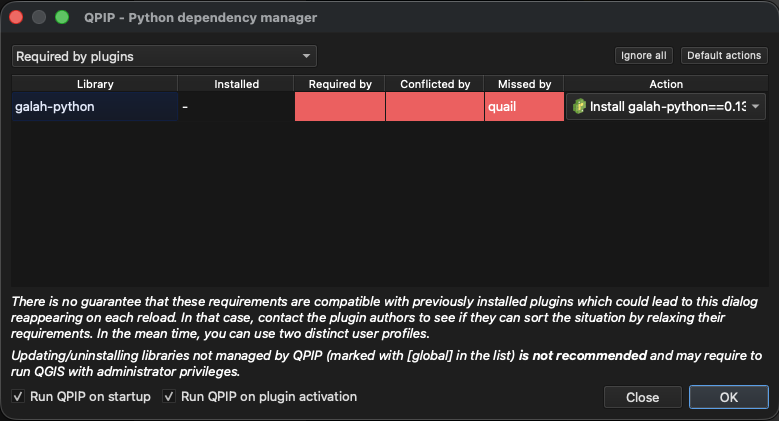
Now, QPIP will direct you to install galah-python, the main Python package that Quail uses to download data. Click “OK” to install.
The Quail plugin is installed! Click on the Quail logo on your toolbar to start using Quail.